

One of the biggest things I had to learn when I started shooting with my compound bow was how to draw. This is the most essential part of using your compound bow and if you start doing it wrong it’s really easy to pick up some bad habits. That’s why in this article I’m going to teach you how to properly draw a compound bow with 5 easy steps.
The main things ill cover include making sure you have the proper stance, grip, and anchor point.
Compound Bow Shooting: Set-Up = Raising the Bow
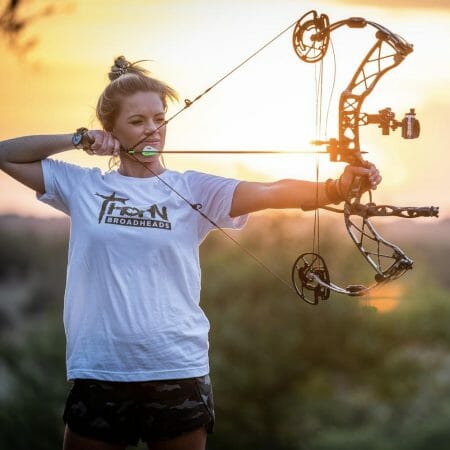
Raising the bow, also known as “set-up,” is the first step in shooting a compound bow. This may appear to be a simple step, but it is critical to complete in order to set up your shot for consistency and accuracy. The focus here is to have your draw hand raised high.
Here’s How To Do It:
- To raise the bow, first, you must apply pressure to the bow grip. Your triceps on your bow arm will be activated, which will aid in a more steady shot.
- Then, as you raise the bow, be careful to keep your shoulder low as you do so. The goal is to keep proper posture, an activated core, and a relaxed bow grip while raising the bow slightly above shoulder height.
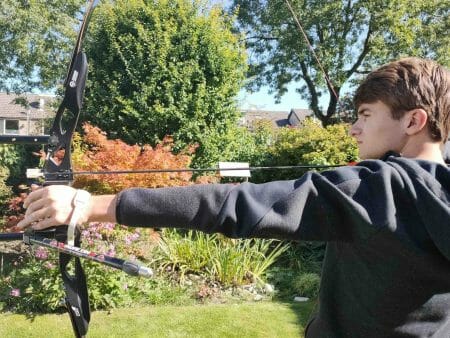
- Stand directly behind the bow, with your feet and toes pointed out.
- Keep your arms at your sides.
- Pull the string back as far as possible. You want to release the arrow to close range.
- Lower your draw hand until you can gently guide the arrow.
Drawing a Compound Bow: Release = Pulling Back the Bow
Set your stance and raise your bow outside or in your home. The next step in compound bow shooting is determining your draw length. Here’s a guide for you on how to determine and measure your bow’s draw.
The Fundamental Motion
Here are some key points to remember during the draw:
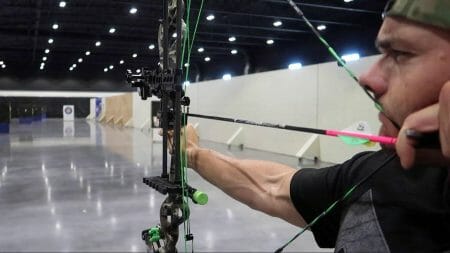
When you’re at full draw, keep your wrist flat and draw a straight line from your wrist to your forearm to your elbow.
Keep the bowstring aligned with the center of the bow, as you draw.
After you have properly pulled back on the release and your bow has reached full draw, it’s time to give the limbs a light squeeze to maintain the flexion you made during the draw cycle.
Release the hand off the string until the fingers are ready to come off. Release the hand and allow the fingers to come off. You will want to see the fingers at rest for a second or two before releasing them again. You want to repeat this process until the hand is fully released.
When you pull back the string on your compound bow, it will put a great deal of tension on your hand as well as the bow. Your fingers must also grip the bow properly and hold tight enough to maintain this tension. Here, you may check how to make a compound bowstring. (1)
Step 1: Measure Your Draw Length
The first step in drawing a compound bow is to adjust the draw length. You will need to determine which category is appropriate for your physical stature. For instance, someone who is 5 foot 6 inches may be in Category 3, while someone who is 6 foot 7 inches would most likely be in Category 5.
Your draw length is the length that is between the inside of your thumb and your little finger. Most bowhunters draw out about 1 foot with a bow, it’s best to make sure you are in between 1 and 1.25 feet, depending on the size of your legs and frame. Take your measurements.
Your inside thumb is going to be the key point that helps determine the correct length to draw your bow. The draw length is the distance from your drawing hand all the way to the grip at the release position. There are several methods for determining proper draw length; some are accurate, while others are not. A draw length check bow with a faux arrow and measurements marked is available at most archery shops.
Step 2: Determine the Correct Draw Weight
The weight of your draw weight is the primary thing that determines accuracy and consistency. When hunting with a compound bow, most of you do not want to draw a bow with a draw weight that’s too light. Remember, a compound bow is not a bow designed for shooting in a stationary position. (2)
The draw weight of a compound bow is the amount of force required to pull back the string and shoot the arrow. The higher the draw weight, the more powerful the shot will be. It’s important to choose a draw weight that suits your needs because if it’s too heavy you’ll have trouble releasing the arrow and if it’s too light, there won’t be enough power in your shot.
However, this can result in a big difference in accuracy between arrows with different draw weights. So keep this in mind when you are making your decision on your draw weight.
Step 3: Stop Gripping So Hard
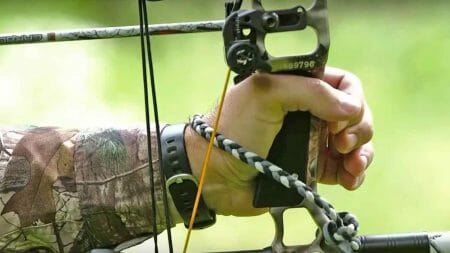
During your draw, make sure to keep a relaxed grip. Many people have a perfect grip during the pre-draw stages, but when they draw, they switch to a Death Grip. Try to stay away from it.
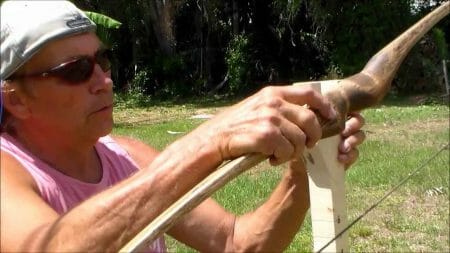
The part of the riser where your hand will come into contact with the bow is referred to as the grip, but this does not imply that you should actually “grip” it.
Grip your bow by wrapping your thumb and fingers around the grip, not holding it with a death grip. It is natural for your hand to shake a bit as you hold the bow. Tightening your grip will just cause more tension and make it harder to draw the string, so relax!
Step 4: Place Your Anchor
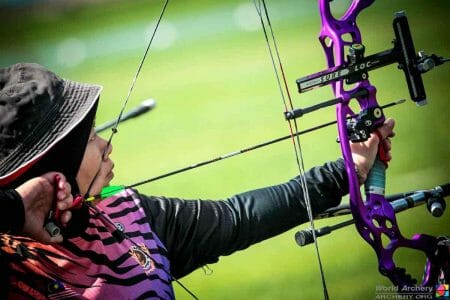
At full draw, your chest should be perpendicular to the target, and your index finger should be near the corner of your mouth – this is known as “finding your anchor point.” Your draw arm’s elbow should be directly behind the arrow; if it’s sticking up in the air, try to bring it down slightly so that it’s roughly parallel to the arrow.
your anchor point is located in the middle of your lower palm. If you are still drawing a regular compound bow and are struggling to draw it correctly, you need to move your anchor point and start holding the bow like this.
After a couple of weeks of practicing and being able to draw it with your lower hand perfectly, it is time to move your anchor point to where your shooting hand is.
Step 5: Allow the Bow to be Released – Fire the Bow

Finally, shoot from the proper anchor point.
Allow the pin to float on the target while pressing into it with your bow hand. You can rely on your pin to float over the target. Pull your release hand into the bow’s back wall while driving into the riser with your bow hand. Simply push into the riser with your bow hand while driving your release arm’s elbow back. The more relaxed you are, the easier it will be to take the shot.
When you shoot your compound bow, you anticipate the shot and are never as accurate as you could be. I recommend making a shooting device so you can regularly practice shot execution without ever firing an arrow.
Taking your time is the best way to become a great archer. I recommend creating a routine consisting of specific steps and then following that routine each time you draw a compound bow. The more time you devote to developing a shot routine and mastering each step of that routine, the more successful you will be at bowhunting.
References
(1) tension – https://www.khanacademy.org/science/physics/forces-newtons-laws/tension-tutorial/a/what-is-tension
(2) accuracy and consistency – https://www.linkedin.com/pulse/consistency-vs-accuracy-karthik-venkateswaran
